Everything You Need to Know About Canning with Salt

When I say this, I know some will write me off as kinda weird, but I’ve always found salt fascinating. It’s not just something that makes dinner taste better. Truth is, it’s an important tool in my homestead kitchen. Daily. And magnified times 10 during harvest season.
Of course, I’m not the first person to love salt. The ancient Egyptians knew the magical preserving properties of salt, discovering long ago that salt would draw moisture from their meat, keeping bacteria much lower, and allowing the meat to keep longer.
During the Civil War, far from the arid conditions of the Nile, the armies had a harder time curing meat in the sometimes humid, sometimes frigid weather. It turned out that salt was such an important commodity to preserve the troops’ rations (as well as tan hides, dye clothes, and of course, flavor their food) that a military service waiver was offered to anyone willing to work on salt production on the coast.
Because army generals, like homesteaders and Egyptian pharaohs, knew salt was an important tool.
But How Does Salt Preserve Food?
Salt has been used as a preservative for thousands of years because it does two things:
- It kills the bad stuff. Salt kills microbes, which include nasty bacteria that cause disease. A large amount of salt is toxic to *most* microbes, meaning that most microbes die quickly in high salt solutions.
-
It’s a drying agent. Salt also preserves food because it dries food out, by literally drawing water out and dehydrating what’s left. Given that all living things (including that nasty bacteria that no one wants to eat) require water to continue living, salt is used on food to dry it and preserve it. Pretty cool, right?
“All that’s fine and good,” you might be saying, “but, Jill, today we have handy refrigerators. We don’t need to preserve food anymore.” Here’s the thing, 2020 made us all realize we don’t truly have any control over our food supply unless we start taking control. (Remember those empty shelves at the grocery stores?)
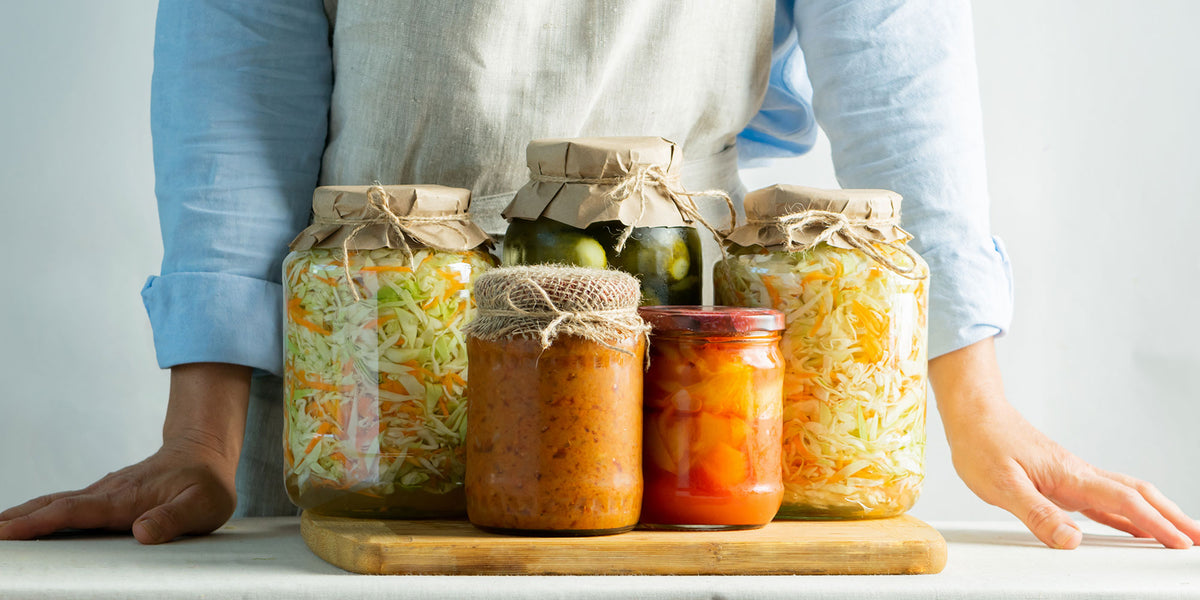
One way many folks are doing that is by learning, for the first time maybe, how to preserve their own food— food they grow in their garden and raise on their own homestead or food they source locally from farmers markets and nearby small ranches.
If you’re one of those people, and you’re thinking maybe you’d like to put away some good food for this winter, you might wonder where salt fits into the mix. So let’s talk about salt and its role in canning. And I’ll share my favorite canning recipe for meat with you too because Redmond Real Salt really shines in the flavor of this meat canning recipe.
Does It Matter What Salt I Use for Canning My Food?
The short answer is “yes! It absolutely matters what salt you use for canning.” But the details can get slightly complicated.
The first kinda confusing detail is the fact that many recipes call for pickling salt. But I wish they explained the “why.” Generally, the main difference between canning or pickling salt and refined table salt is that you buy on the grocery store shelf is that canning/pickling salt lacks the added iodine and anti-caking agents.
That’s the stuff that leads to off-flavors, textures, and colors in your jars of food. Anti-caking agents—which are in most table salts on the market by the way—will most likely cause your brines (which is what you use to ferment foods) to become cloudy. Not something you want to happen to the food that you took such care to preserve for your family.
But the truth is, you don't have to have salt labeled as “pickling salt” or “canning salt” to have a great final result.
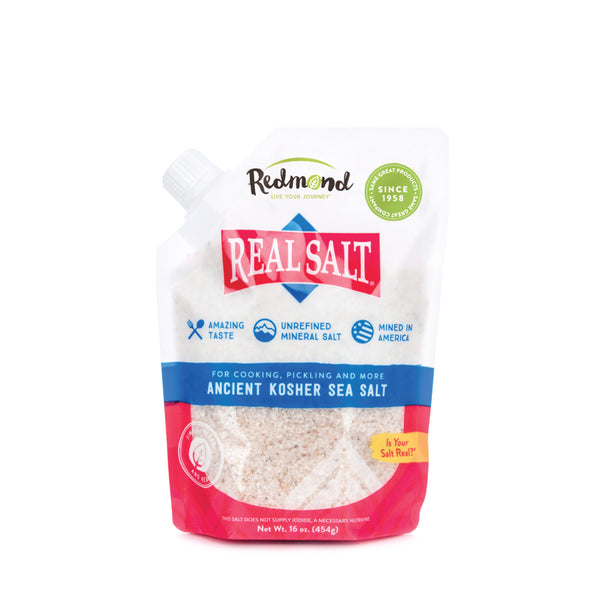
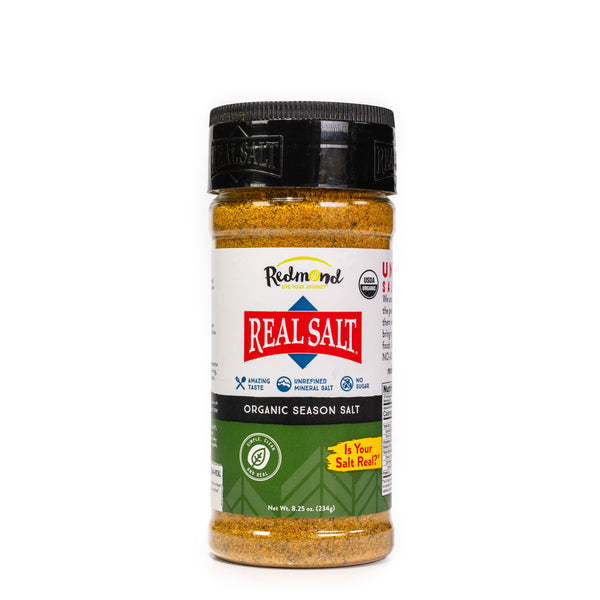
You just need to avoid using any salt that has iodine, anti-caking agents, or other additives. Of course, with Redmond Real Salt you don’t need to worry about anything added. Ever. Period. Which makes it perfect for canning your food.
You can use whatever variety of Redmond Real Salt you have on hand (but keep reading for one caveat to this).
What Redmond Real Salt Varieties Are Good for Canning?
If you’re like me, you may have the whole gamut of Redmond Real Salt varieties on your shelf, because there are great uses for each level of coarseness.
Powder Salt
The powder salt is extra fine. I always have it on hand for our popcorn. When I chatted with Darryl Bosshardt (Redmond’s resident salt expert who’s worked in and studied salt and minerals his whole life) on the Old Fashioned on Purpose podcast a little while ago, he opened up my family’s popcorn experience to a whole new level when he told me about Redmond’s powder salt and why it’s perfect on popcorn (which is an important staple in our home, btw). I learned two things...
- The extra-fine powder salt sticks beautifully to the popcorn, no oil needed.
- Redmond does sell “popcorn salt” but it’s the exact same thing as their powder salt, just two different packages. So if you have one in your pantry, you have both.
Listen in to all the amazing details Darryl shared with me (seriously guys, this is great stuff) right here: Salt: The Unsung Hero of Your Homestead.
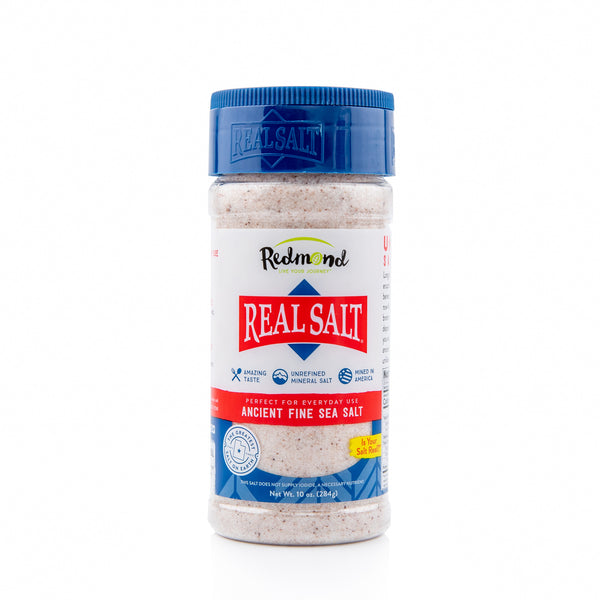
Fine Salt
This is just regular, everyday salt with an average coarseness. (I used to get tripped up that it’s called “fine,” cause it’s just regular really.) This is the Redmond Real Salt I keep in a little pinch bowl by my kitchen stove at all times. I use it many times a day to season everything that comes through my kitchen. And honestly, while you can use any version of Redmond Real Salt in your canning and fermenting, this is the one I’d recommend the most. (Remember, I have a little caveat coming...)
Kosher Salt
Call me crazy, but I used to think this salt was specially blessed by a Rabbi and good for kosher cooking. Turns out, it has nothing to do with a kosher diet. It gets its name from
the larger size of its crystals. You see, kosher salt, with its larger-sized chunks, is ideal for drawing out moisture from meat, making it perfect for use in the meat Koshering process. (Something else Darryl taught me. You really should go back and check out episode #133 of the Old Fashioned on Purpose podcast.)
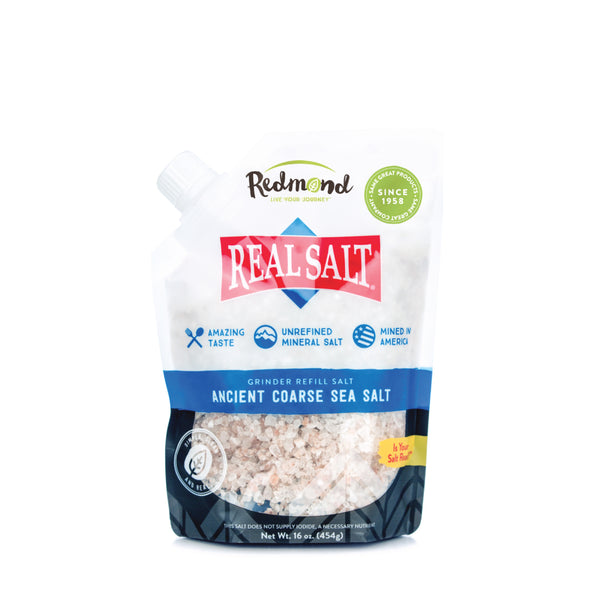
Coarse Salt (for grinders)
Then there’s the wonderful coarse salt for filling your salt grinder and grinding as you use it. But you know the caveat I mentioned earlier? It applies to coarse salt. Because of its coarse texture, coarse salt is a little trickier to substitute in place of pickling salt in a recipe, so I would not recommend using this option unless you’re okay with a little trial and error and a learning curve.

Tips for Canning with Different Types of Salt
Here’s the most important thing to keep in mind when choosing the salt you will use for canning: Depending on the coarseness, the weight per volume can differ. For example, a cup and a half of kosher salt, with its larger flakes, might equal about a cup of fine salt, so you’ll need to adjust the amount of salt you're using if you decide to swap it out for different-sized flakes, so the actual amount of salt is the same. Basically:
- If you’re using Redmond’s fine salt, use the measurement your recipe calls for (although remember, it will most likely call for “pickling” or “canning” salt in your recipe).
- If you’re using Redmond’s powder salt, use a little less than the recipe calls for. If you do use too much, and your food is super salty when you go to eat it, you can rinse the food well in a colander in your sink and prepare it in tap water instead of the canning brine. Because I may have made this mistake a few times. Maybe.
- If you’re using Redmond’s kosher salt, use a little more than the recipe calls for, since those larger granules take up more room in your measuring spoon, with lots of gaps of air between them.
In the end, no matter which salt you’re using for canning, salt is one ingredient in your canning recipe that you can safely tweak. I don’t say things like this lightly because, well, there’s an awful thing called botulism if you mess up your food preservation, and there are so many things to know if you want to can food safely. That’s exactly why I created my Canning Made Easy course, which just launched. The first 1,000 wannabe food preservers who dive in will get a goodie box of all my favorite things that I use to can, including some free Redmond Real Salt!
I also want to make sure we’re clear on one thing. Even though salt can help preserve food, it does NOT play a preservative role in canning — it’s there for the flavor. So you can safely adjust the quantities of salt or experiment with the Redmond Real Salt variety you like best to fit your taste preferences. (If you want more tips on canning safety, check out this article.) Whichever one you choose, you can feel really great that you’re adding 60+ trace minerals to your food. That’s why I use Redmond Real Salt in all my canned food; it makes the food even better for us, and it tastes better too.
My Favorite Redmond Real Salt Option
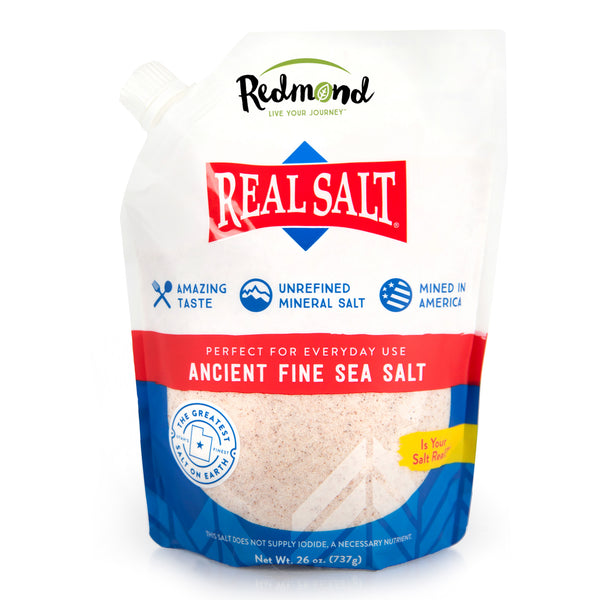
Since salt is obviously one thing I can’t grow here on my Wyoming homestead, I always buy Redmond Real Salt in bulk. It never goes bad, and I keep it in a bucket in my basement pantry. I have this bag in there right now.
Are you ready to kick off your canning adventure with Redmond Real Salt? Here’s my favorite meat canning recipe for you to try.
How to Can Meat
You will need:
- Beef, venison, elk, or pork
- Salt
- Water
- Canning jars, lids, and rings (quarts or pints are fine)
- A pressure canner
Instructions:
- Trim the meat to remove excess fat and gristle. (I usually try to do this when the meat is half-frozen. It makes the trimming much easier.)
- Slice into strips against the grain, and then cut into roughly 1″ cubes (just eyeball it — no need to be exact).
- Place the cubes into a large stockpot and brown thoroughly on all sides. If your meat is especially lean, you may need to add a bit of fat (such as bacon grease, lard, or coconut oil) to the pan to prevent sticking. The goal here is to simply brown the cubes — you don’t need to cook them all the way through.
- Place the browned meat cubes into clean glass jars, leaving 1″ headspace. If using quart jars, add 1 teaspoon of salt. If using pint jars, add 1/2 teaspoon of salt.
- Pour water (how much you need will depend on how many jars you are canning) into the pot you used to brown the meat, and bring it to a boil. This will capture all the lovely bits from the bottom of the pot and create extra flavor in your finished product.
- Ladle the boiling water over the meat in the jars, leaving 1″ headspace.
- Wipe the rims, adjust the lids/rings, and process in a pressure canner 75 minutes for pints and 90 minutes for quarts.
- Use 10 pounds of pressure, UNLESS you are 1,000 feet or more above sea level. If that is the case, increase to 15 pounds of pressure. Check your canner owner’s manual for details.
KITCHEN NOTES:
+ I don’t have exact amounts for this recipe, because it just depends on what you have available.
+ While the salt is officially optional, and only added for flavor (not for any preservation benefits), I would argue the flavor is super important in your canned meat. I always, always use Redmond Real Salt in this recipe and all my canning recipes.
+ Add your melt-in-your-mouth canned meat to soups, stews, casseroles, skillet suppers, or just warm it up and eat it out of the jar.
Interested in learning more about Jill’s Canning Made Easy course, which comes with FREE Redmond Real Salt? Get more information here.